Writing a novel with Storyblue
Starting a novel

When you open Storyblue, we automatically create a fresh new project for you. We've included a couple sample note cards to give you a brief introduction to the software, which you can delete or simply write over.
Save your work-in-progress from the File menu's Save option. You can open stories you've previously saved with File > Open.
.novel files created with NovelPlanner; StoryBlue will convert them to .story format, leaving the original untouched.
Planning your novel
With Storyblue, you plan your novel by creating character, scene, and note cards.
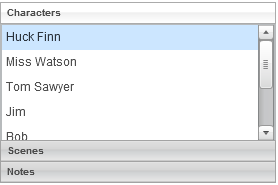
Character cards hold whatever information you want to keep about your character. Physical description and the character's role in your novel are good places to start.
Scene cards hold a description of each scene. Each scene in your novel should move the story forward either directly (action) or indirectly (character development), and thus need a beginning, middle and end. A brief description of the scene is all that is needed here.
Note cards hold all the other information you want to track in your story. Descriptions of settings, political systems of your world, flora and fauna and history... All that and more can go under 'Notes'.
Chapters & scenes
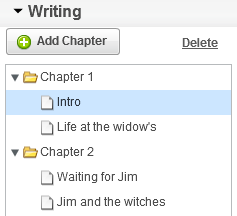
Once you've planned your story, you lay it out sequentially into chapters. Create a new chapter by simply clicking the Add Chapter button above the chapter list. Drag-and-drop your scenes from the scene list above down to the chapter folder they belong in. You can drag scenes around to rearrange them within their chapters.
The writing process
Storyblue has a fully-featured editor built-in so you can write your entire novel without ever leaving the program!
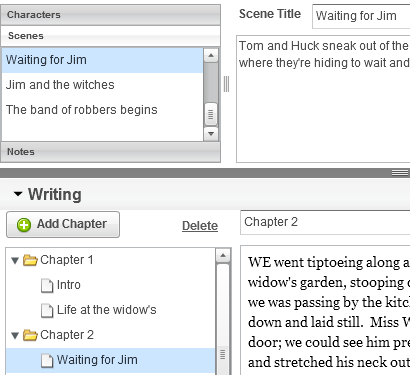
Click on the chapter you're working on to edit it. Writing each chapter separately helps you quickly return to where you were working, just by clicking the chapter where you left off.
Click the scene you're working on to see your notes for it, right above the chapter editor. Now you don't have to switch programs or shuffle index cards to refer back to your notes!
Staying motivated with Goals
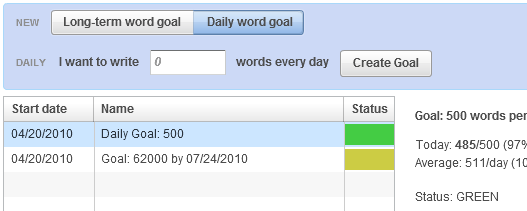
Storyblue lets you set goals, to motivate yourself or track your progress towards a specific word-count. NaNoWriMo coming up? Just click the "Long-term word goal" button and create a goal of 50,000 words by November 31st. You can also set daily word-count goals, if you're trying to write a specific number of words per day.
Viewing your progress
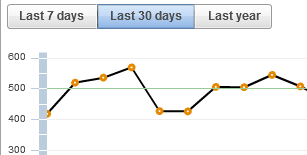
As you write your novel, Storyblue tracks the number of words you write every day and builds a chart for you to easily see your daily progress. Storyblue will also show you how you're doing against the average needed for your goals, so you can make sure you're on target.
Reaching “The End”
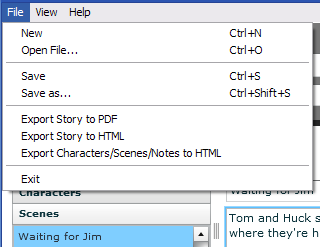
Once you've typed out that last chapter, you'll need a way to get your work out there for reading, revision and submission. Luckily, Storyblue exports to HTML, PDF, and RTF (MS Word!), so you're not stuck inside a proprietary format. You can also export your notes to HTML, in case you wanted to print and read them over!
Try it for free Purchase now